Revised:09/15/2022
This process is used to create new bills using an existing Copy Bill Group header.
As with other batch processes, a reusable Run Control ID can be used, or a new Run Control ID can be created each time. These instructions describe creating a new ID rather than searching for and using one that has been previously created.
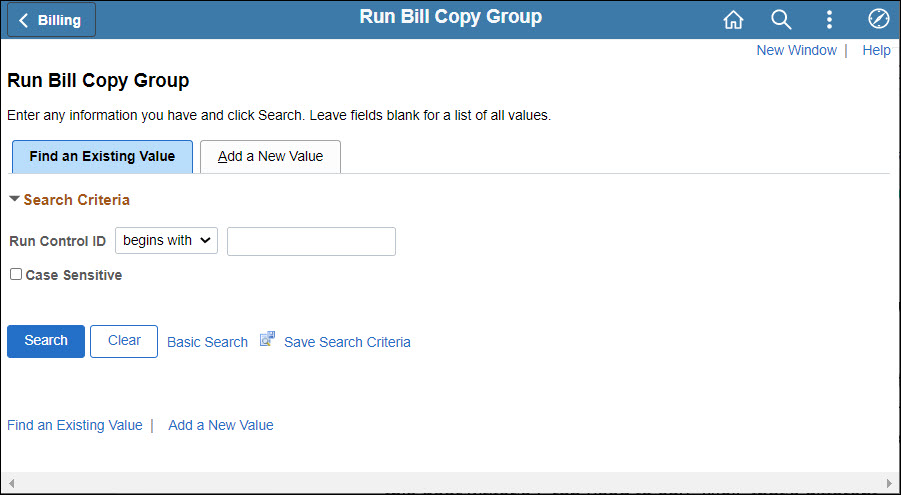
Click the Add a New Value tab.
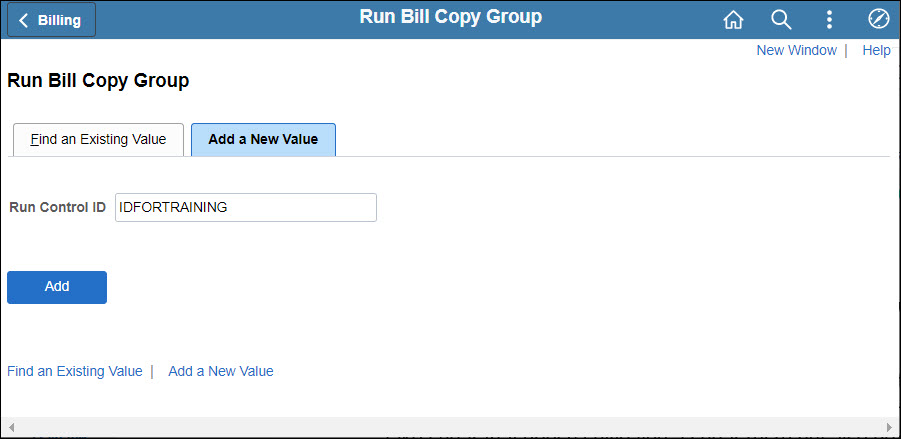
Enter a Run Control ID.
Click Add.
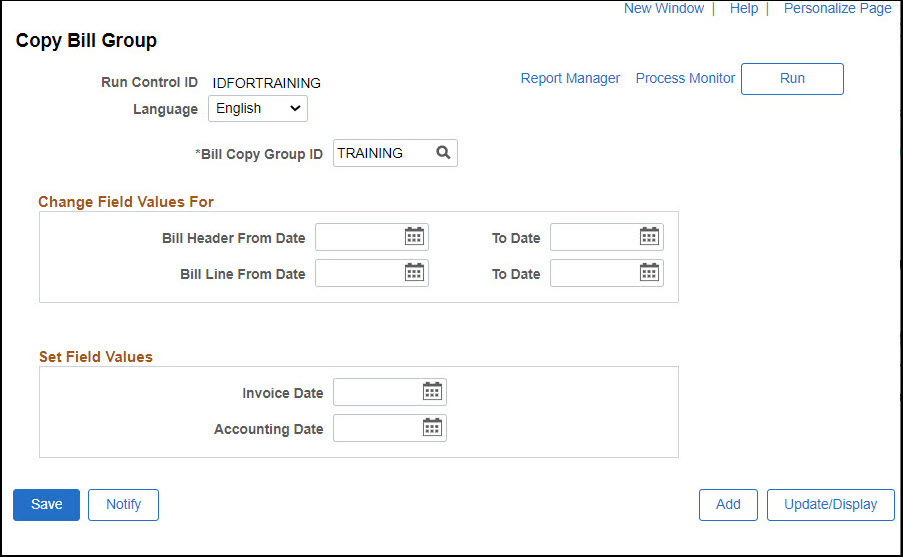
Enter or select the appropriate Bill Copy Group ID to run.
If desired, enter the Bill Header From Date and To Date.
Entering dates will override the corresponding values from the Template Invoice.
If desired, enter a Bill Line From Date and To Date.
If desired, enter an Invoice Date.
This will populate the same invoice date for each of the bills.
If desired, enter an Accounting Date.
This will populate the same accounting date for each of the bills.
Click Run.
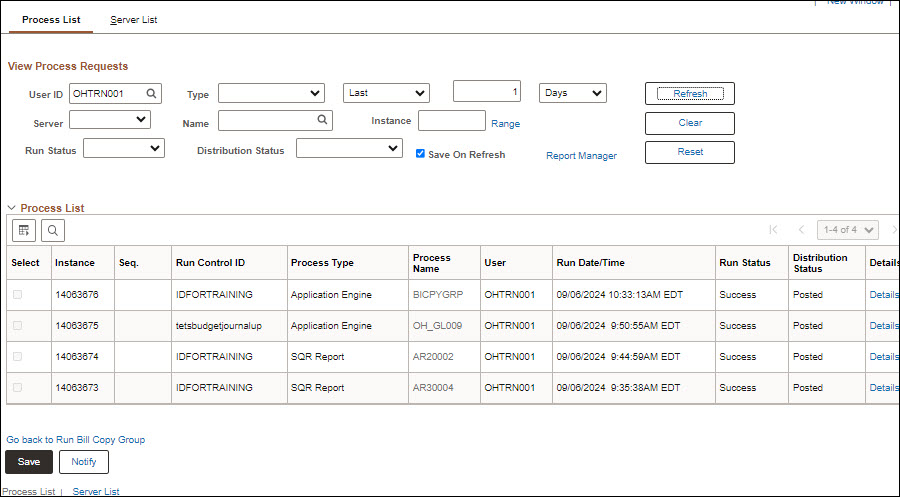
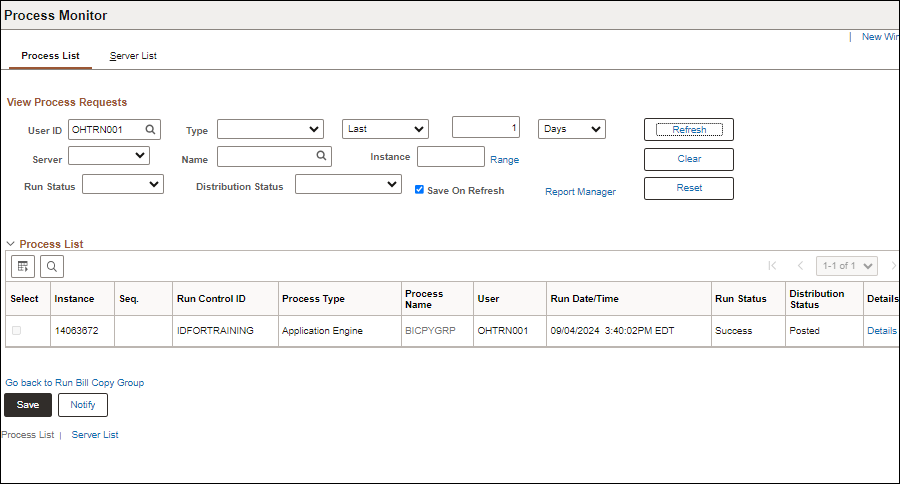
If necessary, select the desired process from the Process List by selecting the checkbox to the left of that line (under Select heading). If there is only one, it will be automatically chosen.
Click OK.
If desired, click Save. This would allow the same parameters for the Run Control ID to be used again.
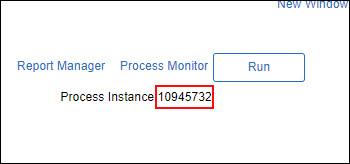
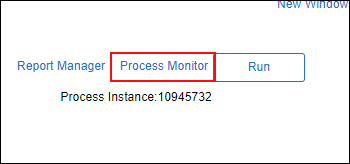
Click the Process MonitorProcess Monitor link.
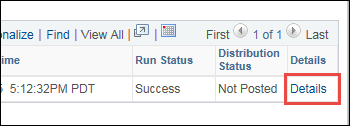
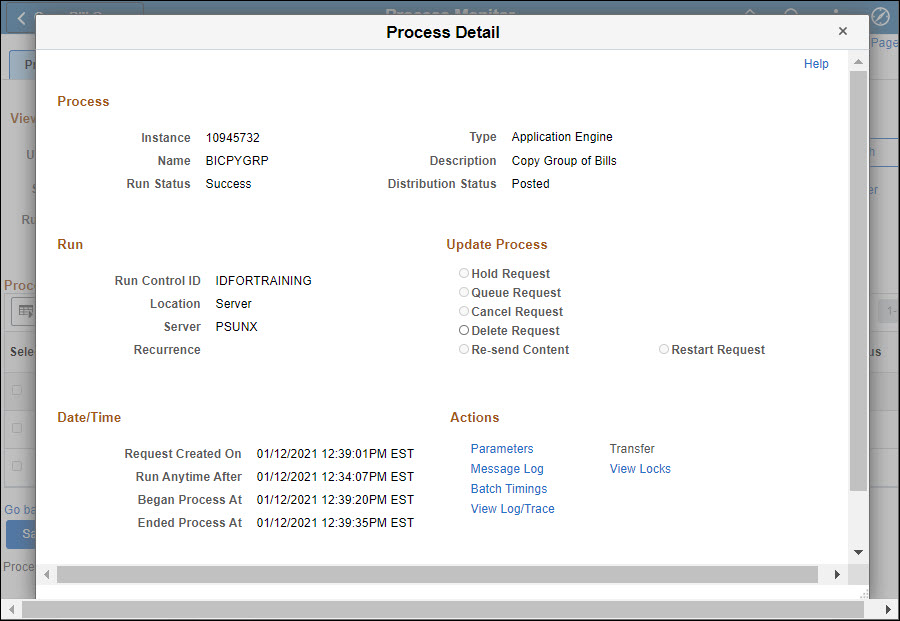
Click the Message Log link.
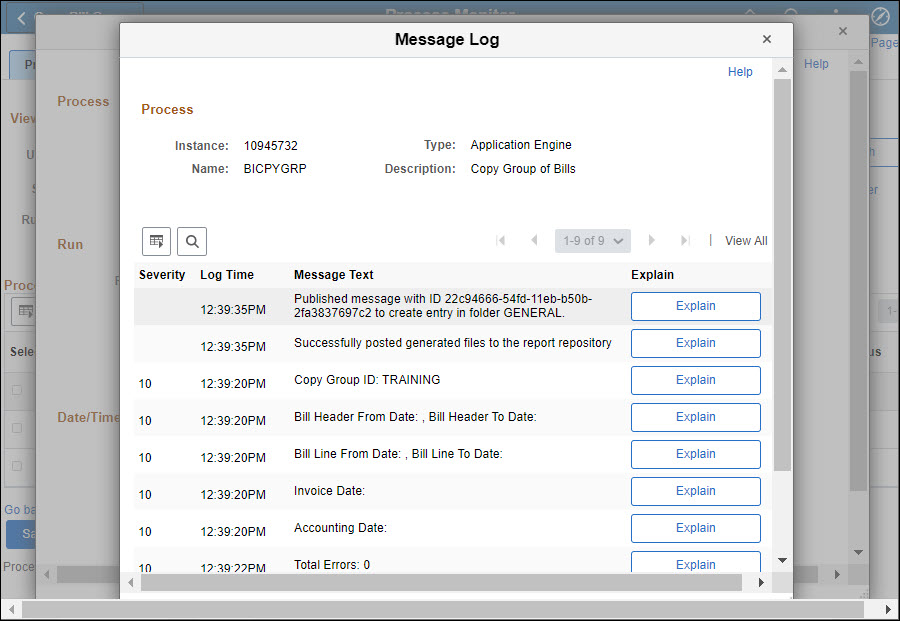
Review the Message Log page to review the steps for the batch process. Ensure that there were no errors and that the bills were copied.
Close the Message Log window.
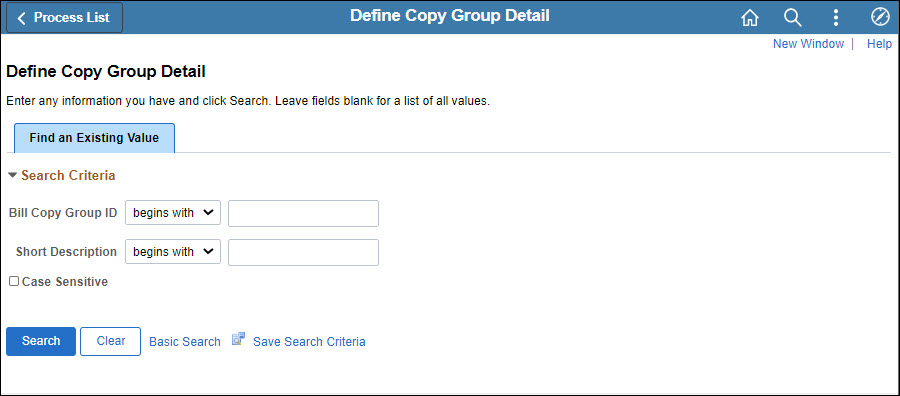
Click Search.
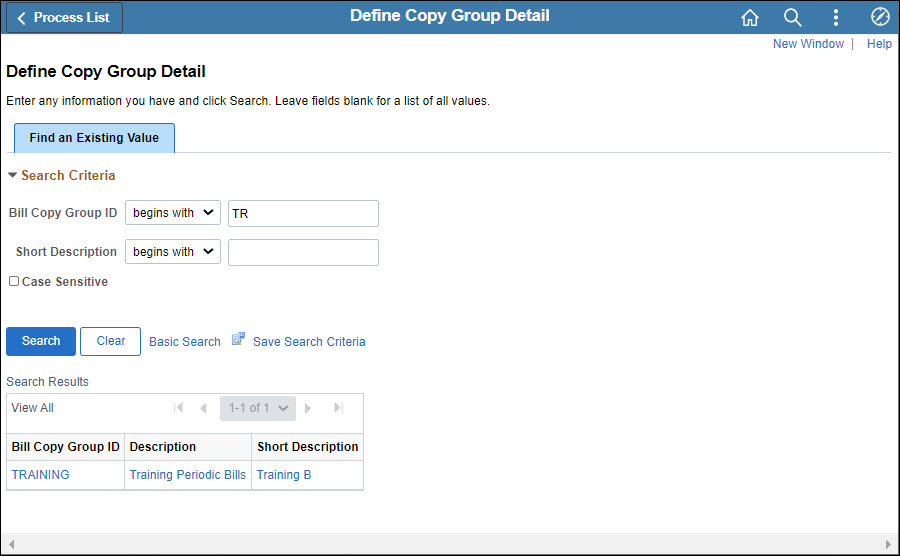
Click the name of the Bill Copy Group ID created.
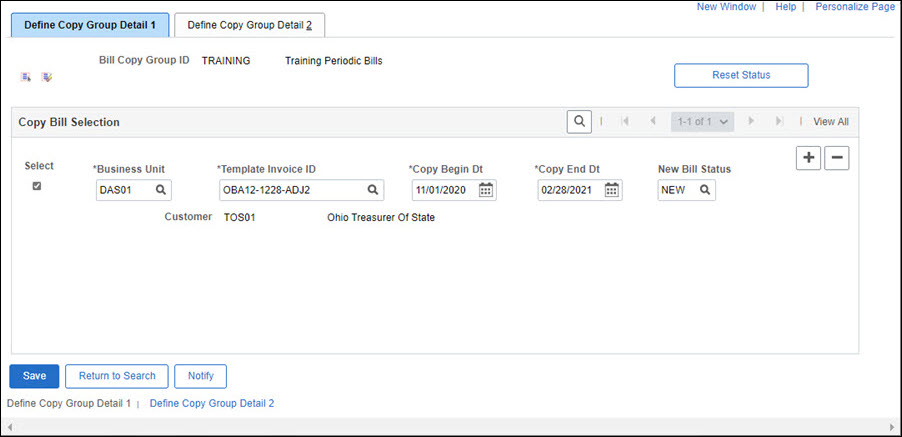
The Define Copy Group Detail 1 page displays.
Click the Define Copy Group Detail 2 tab.
The Define Copy Group Detail 2 page displays.
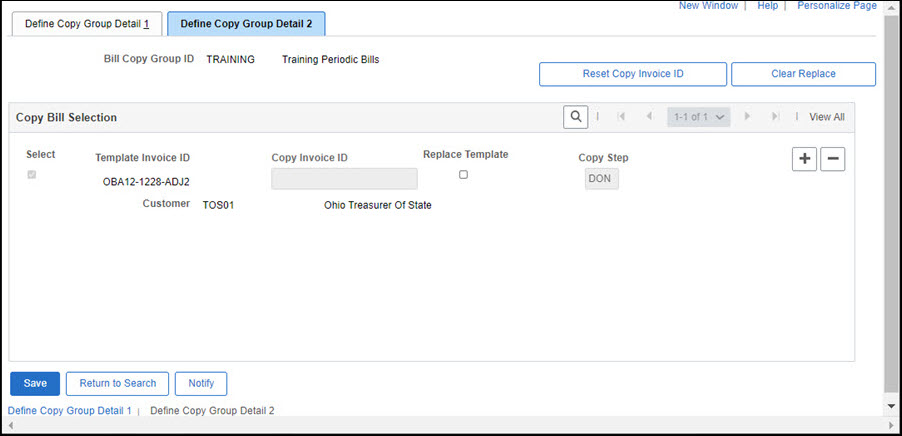
Verify that the Copy StepCopy Step field is populated with "DON." This indicates the bills were successfully created.
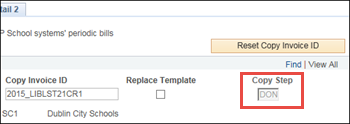
The Copy Invoice ID field is populated with values produced by OAKS FIN.
Click the Reset Copy Invoice ID button.
This ensures that OAKS FIN creates new Invoice IDs during the next batch Copy Bill process.
Click Save.