Revised: 09/15/2022
This process is performed when an entire customer bill must be reversed. The bill can simply be reversed or the bill can be reversed with a new bill created. When a bill is adjusted, OAKS FIN automatically displays "NEXT" in both the Credit Bill field and the New Bill field. Unless a different invoice ID is entered, OAKS FIN automatically assigns the next available invoice ID to this bill. OAKS FIN keeps a record of the original invoice ID -- adding one of the following suffixes:
CR - Credit, used to reverse an incorrect bill.
ADJ - Adjustment, a new bill of the correct amount to the same customer.
RB - Rebill, used to send a bill with the same data to a different customer.
Once a credit bill posts to AR, an AR Administrator or AR Revenue Processor must create an AR Maintenance worksheet to offset the balances between the original bill and the credit bill in AR. If not, both invoices will continue to age within AR.
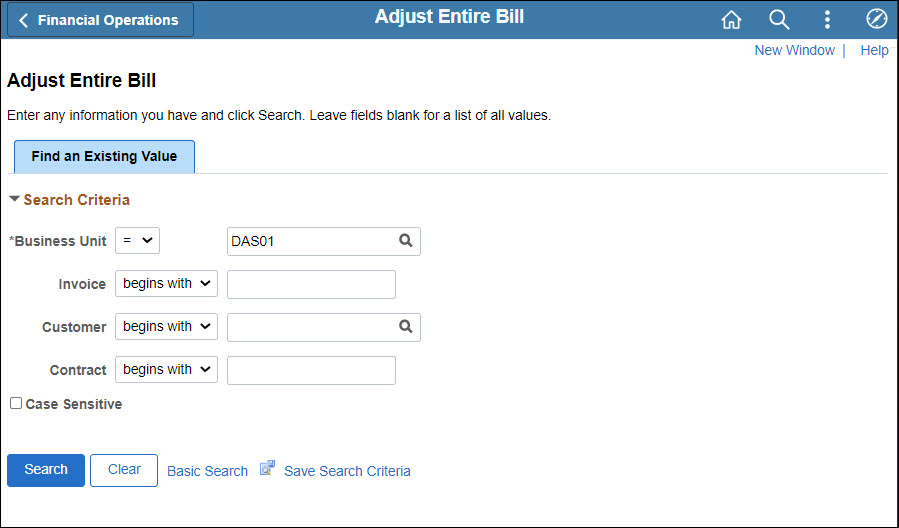
Ensure the correct Business Unit for agency is listed.
Click Search.
The invoices for agency display in the Search Results at bottom of the page.
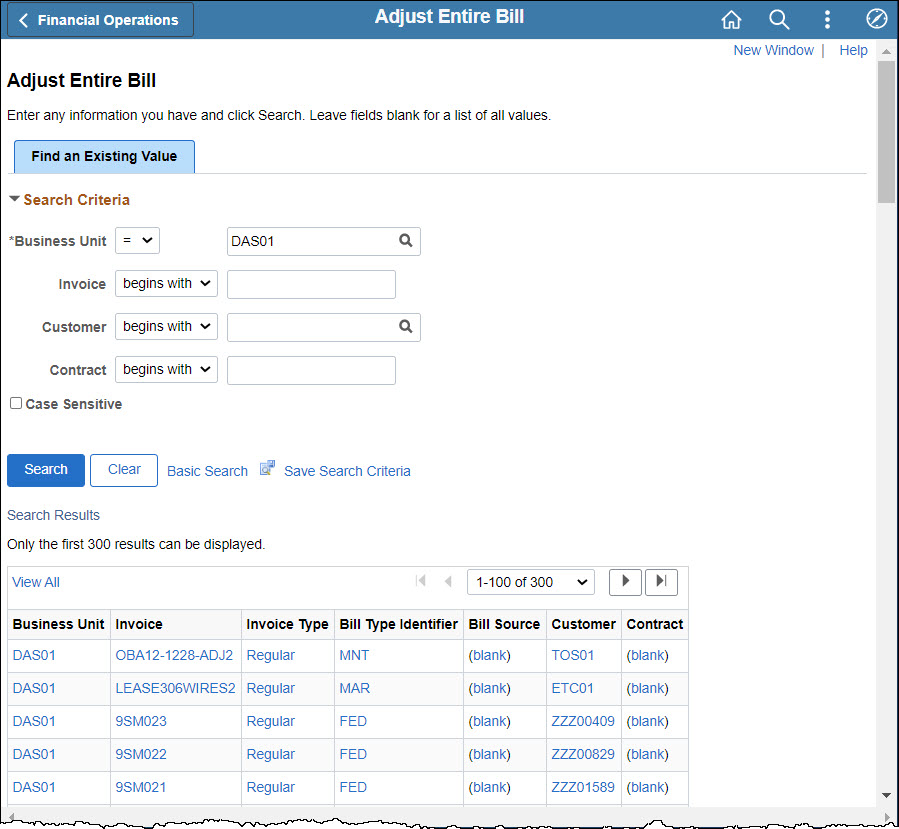
If necessary, narrow the search results with additional criteria -- invoice, customer and/or contract -- using "begins with," "contains," or another delimiter.
Click the number of the invoice that needs to be adjusted.
The Adjust Entire Bill page displays with that invoice's details.
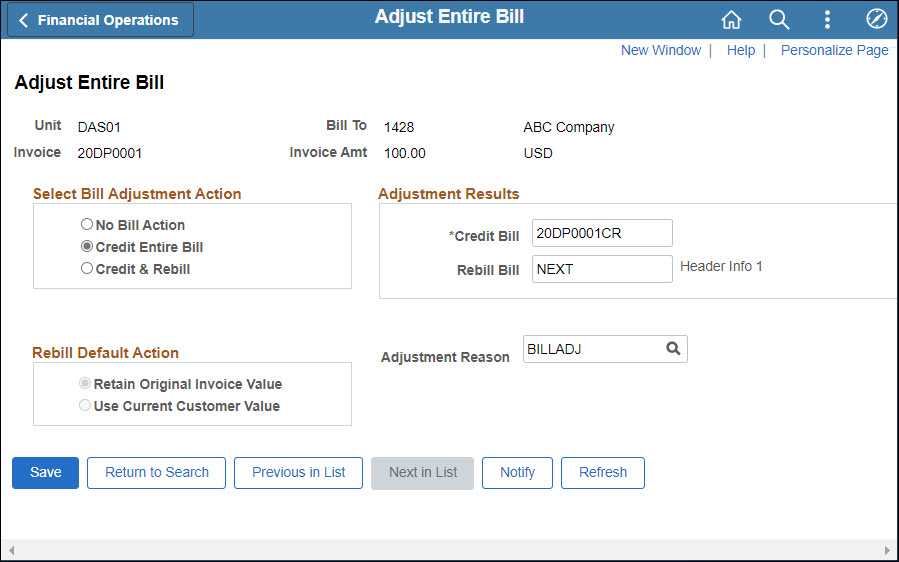
Select the applicable option in the Select Bill Adjustment Action section.
Enter the ID of the original bill with suffix CR in the Credit Bill field.
If rebilling, enter the ID of the original bill with the suffix RB or ADJ in the Rebill field.
Enter an Adjustment Reason.
Click Save.
The Header Info 1 next to the Credit Bill field becomes active and the credit invoice can be viewed.
Credit bills automatically have a status of RDY upon creation.
Click the Header Info 1 link.
A new browser tab opens to display the new invoice -- CR, RB, or ADJ.
In order to view this new window, it may be necessary to first enable pop-up windows in your web browser.
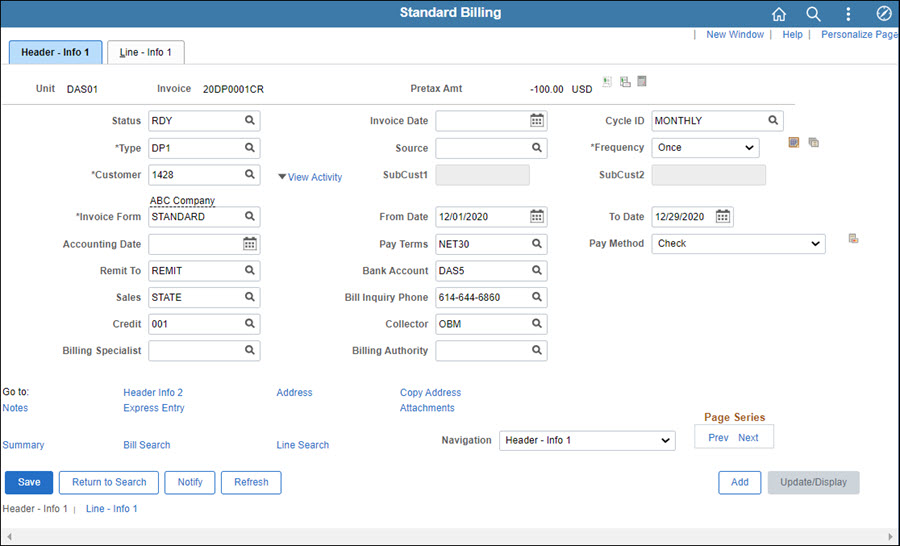
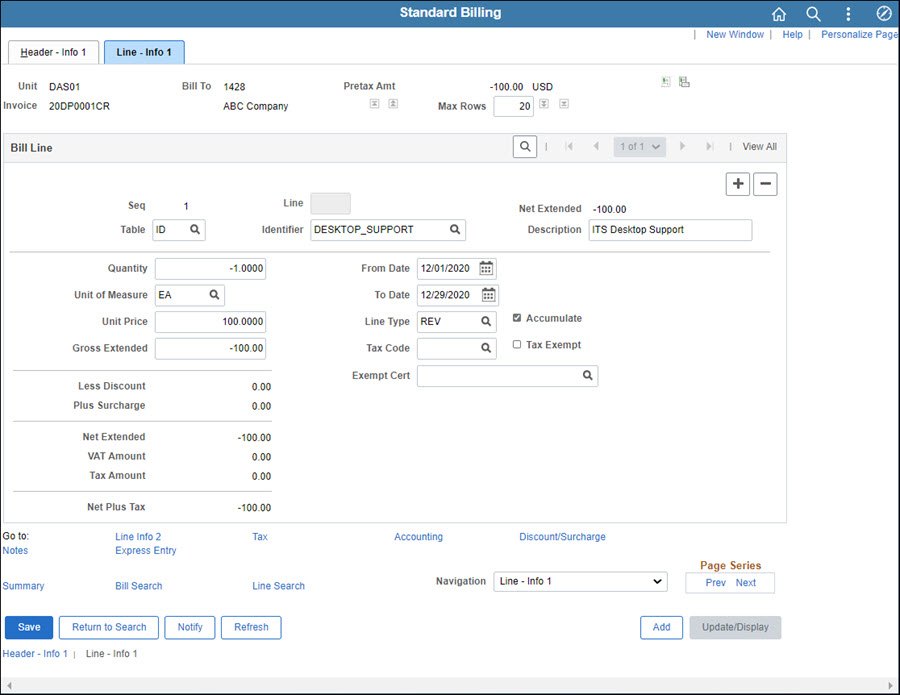
Click the Line - Info 1 and review the information for accuracy.
The Line - Info 1 page displays.
Click the Line Info 2 link towards the bottom of the page.
The Line Info 2 page displays.
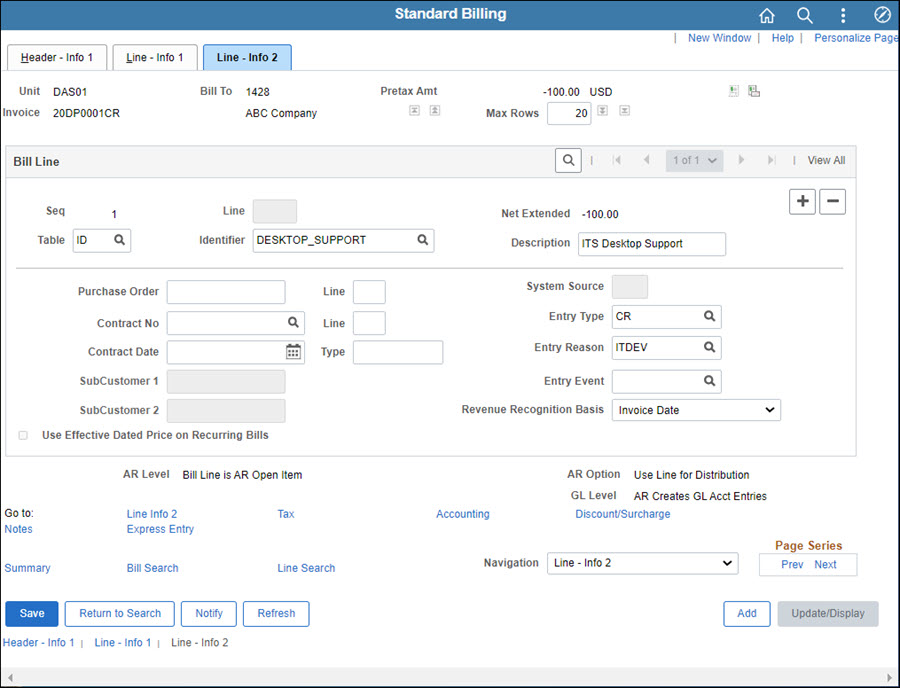
Enter an Entry Type of "CR" or "ISTCR."
CRs are credits for a third-party customer; ISTCRs are credits for other state agencies.
Enter or select the same Entry Reason code as the original invoice.
Click Save.
Close this tab or window (it was a pop-up from the original Adjust Entire Bill page that should still be open in another tab or window).
If a credit was created, but not a rebill:
The process is now complete.
Skip to the Review Adjustment History section below for steps on how to see all invoices associated with the original.
If a rebill is needed, continue with the additional steps listed.
Click the Header Info 1 link next to the Rebill Bill field.
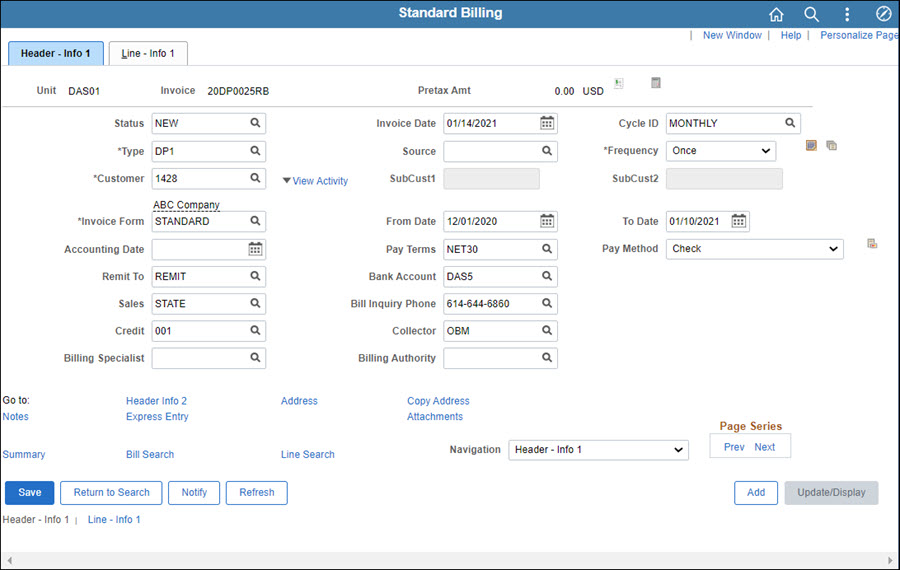
Enter the Invoice Date as the new date that should appear on the invoice.
If the bill was sent to the wrong customer, edit the Customer field.
If the customer is changed, customer-related information such as address will update. A warning message displays.
Update the From Date and To Date to define the time period in which goods and services were provided.
Click the Line - Info 1 tab.
The Line - Info 1 page displays.

Review the information for accuracy.
If any updates are required, make them.
Click the Line Info 2 link towards the bottom of the page.
The Line Info 2 page displays.
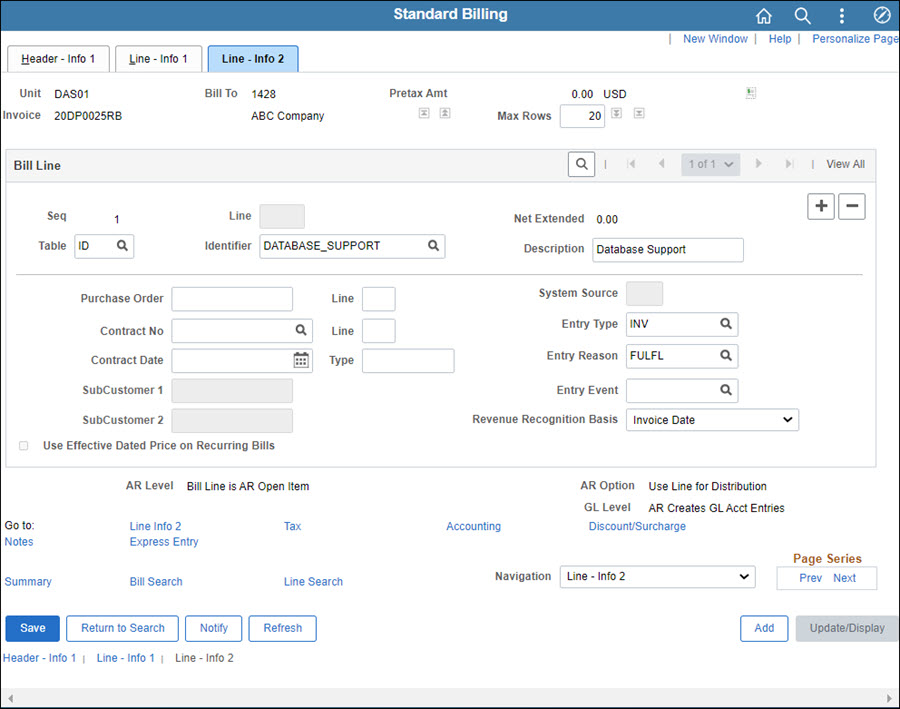
Enter an Entry Type.
INV is used for third-party customers. ISTV is used for other state agencies.
Enter or select an Entry Reason.
Click the Header - Info 1 tab and review the header information.
It is recommended to leave the Status as "New" initially and follow steps for Printing a Pro Forma Invoice.
After verifying the Pro Forma Invoice printed correctly, change the Status to "RDY."
Click Save.
Follow steps below to Review Adjustment History. This shows all invoices associated with the original (credits, adjustments, and rebills).
The Adjustment History page for the invoice displays.
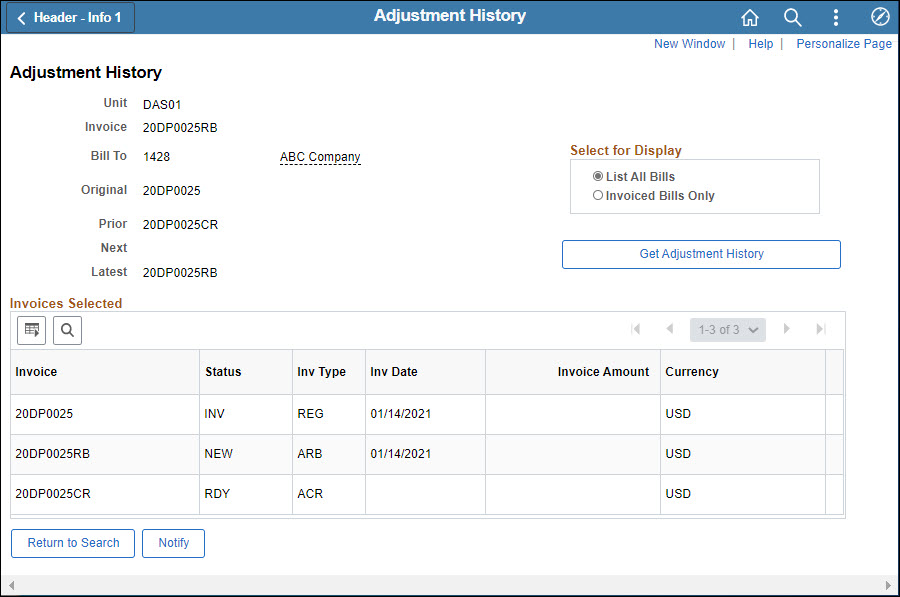
All invoices associated with the original invoice are listed. This will include the regular bill, credit bill, and rebill (if one is created). This page may be used as a reference to respond to customer questions.