Using Conversation Attachments
Normally, while creating a pending item related to an ISTV, the selling agency will attach the invoice by uploading an electronic image when creating the entry. That invoice image is viewable on the ISTV Viewer Page (Accounts Receivable>AR Custom Batch Processes > ISTV Viewer Page). However, once a pending item has been processed, attachments cannot be added to the item in this manner. Invoices can be added as attachments after processing using Customer Conversation in OAKS FIN.
Update Conversations is where agencies who upload ISTVs electronically have been instructed to attach invoices.
Steps
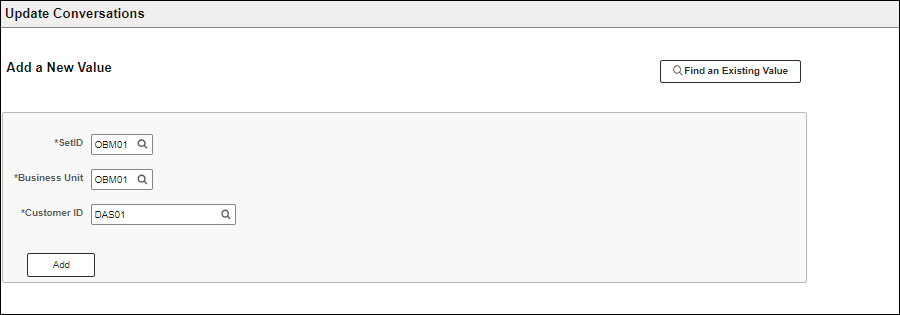
- Click the Add a New Value tab.
- Enter the “owning” agency code in the SetID field.
- Each agency has their own customer records, even if the customer works with multiple agencies.
- Enter the Business Unit.
- Enter the Customer ID.
- Click Add.
- The Conversations tab displays.
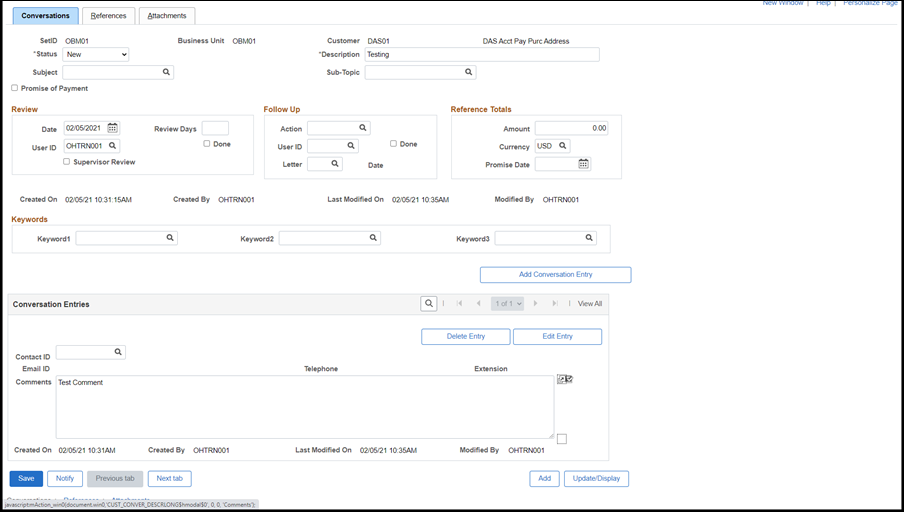
- Verify or change Status to "New."
- Enter a Description.
- Click the Choose a Date icon to enter today's Date.
- Enter any relevant Comments.
- Click the References tab.
- The Reference page displays.
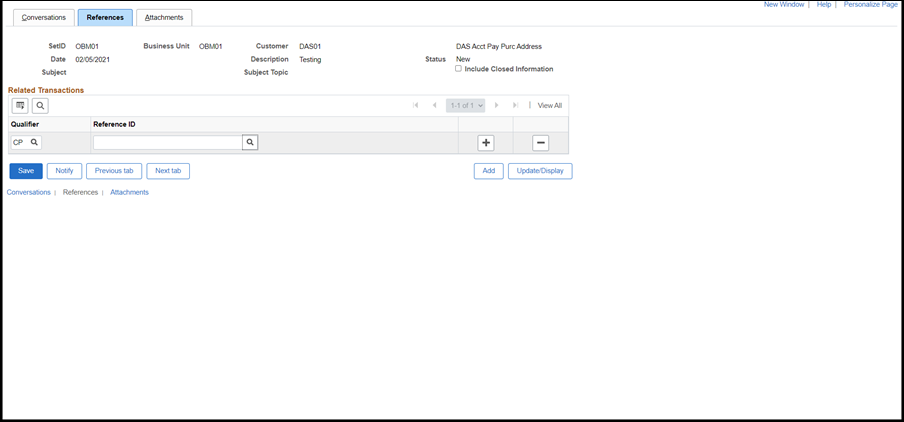
- Find and select the Conversation Qualifier Code using the Look Up Qualifier icon.
- Enter the Reference ID.
- The Reference Business Unit, Customer ID/Deposit ID, and Item LIne will populate.
- Click the Attachments tab.
- Enter a description of the file to be attached in the Description field.
- Click Attach.
- The File Attachment window displays.
- Click Browse...
- Find and select the file (e.g., the invoice) to be attached to the conversation.
- Click Open.
- Click Upload.
- The Attached File name displays on the page.
- Click Save.