Revised: 09/14/2022
Placing Items in Dispute
Overview
Items are placed in dispute when a customer reports that they have been billed incorrectly. Placing an item in dispute allows those items to be separated when reviewing the customer balance information.
Steps
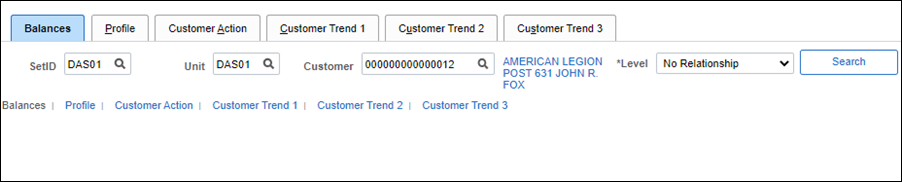
- Click the
Profile
tab.
- Verify or enter the agency specified BU into the SetID field.
- Set IDs are the keys to the control tables. They dictate the type of transaction a business unit can complete. It also determines the data accessible to a business unit.
-
Enter the agency specified BU into the Unit field.
-
Enter the ID of the customer disputing an item in the Customer field.
-
Enter or select the Level of the customer relationship from the Level dropdown. The choices are:
- Corporate
- Correspondence
- No Relationship
- Remit From
-
Click Search.
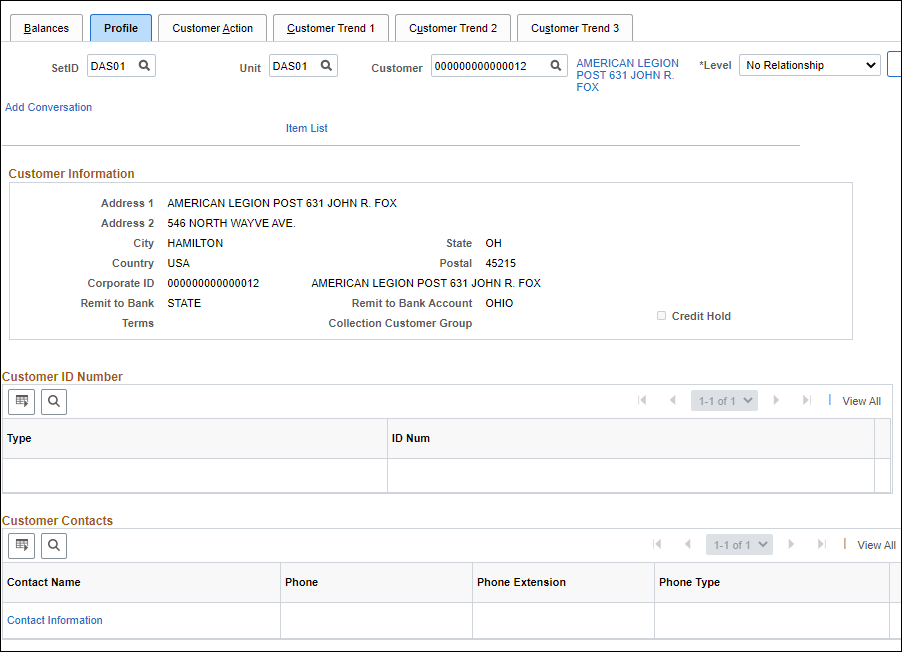
- Click the
Item List
link.
- The Customer Item Inquiry pop-up window displays.
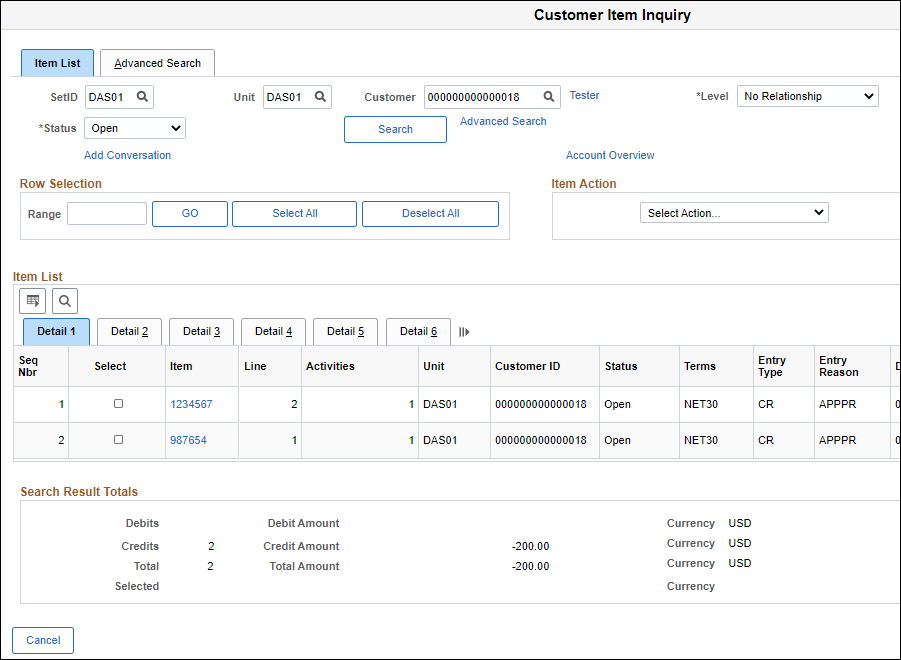
- Review the
Due
and
Days Late
columns to see when the bill was due.
- Click an
Item
link to view the details for that item.
- The Detail 1 tab information displays, including balance, discount, payment and maintenance information for the item.
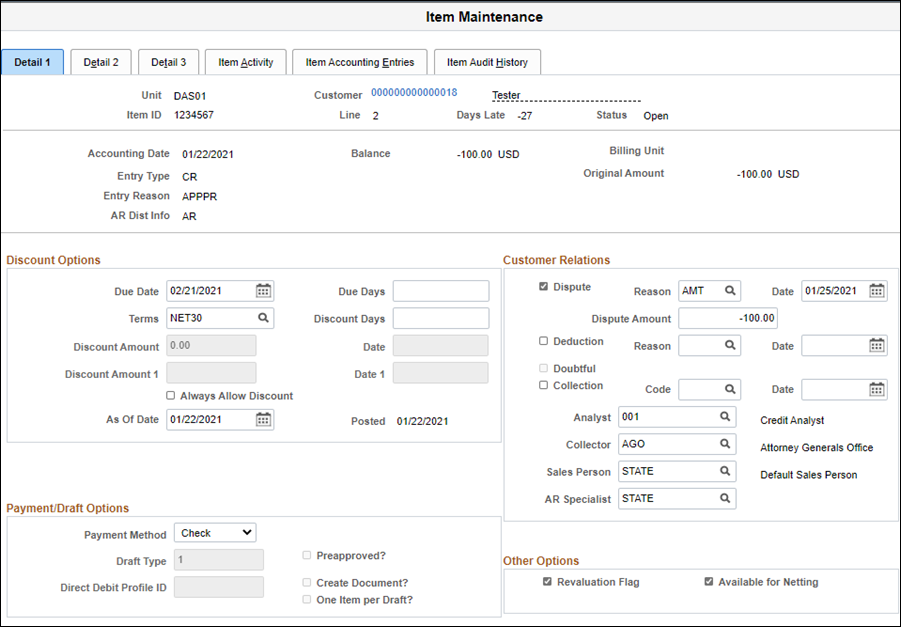
- Select the
Dispute
check box.
- The state does not use the
Deduction
and
Doubtful
check boxes.
- Use the
Look Up Reason
icon next to the Reason field to select the Reason for the dispute.
- Verify or edit the date the dispute was identified in the
Date
field.
- Verify or edit the
Dispute Amount
field; the dispute may be for the full or a partial amount of the item.
- This field is automatically populated with the full amount of the item when the Reason Code is selected. Editing this field does not alter the Balance or original Amount fields.
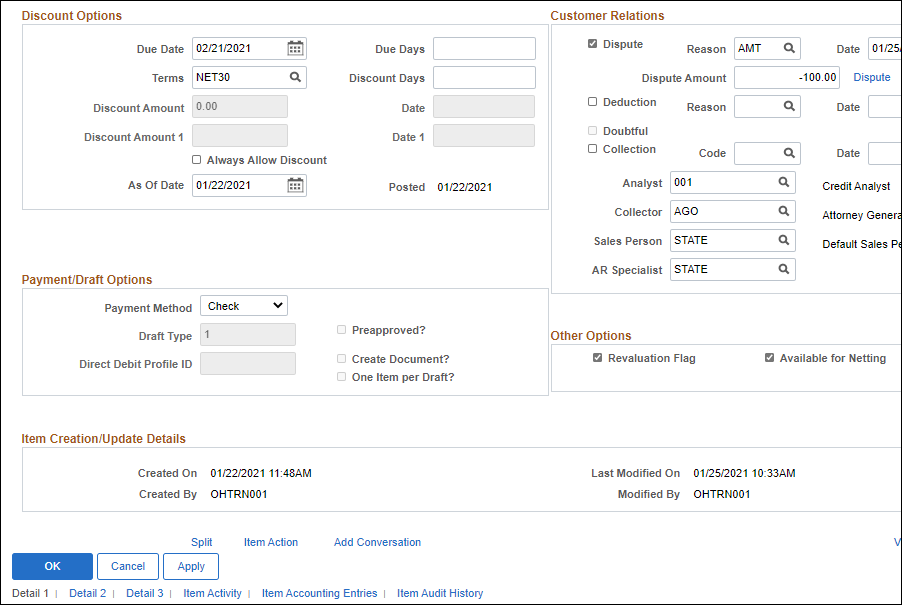
- Click
Apply.
- If necessary, make a record of the conversation with the customer. It is a good idea, at minimum, to add conversations when a dispute is added and when it is resolved.
- Click the
Add A Conversation
link.
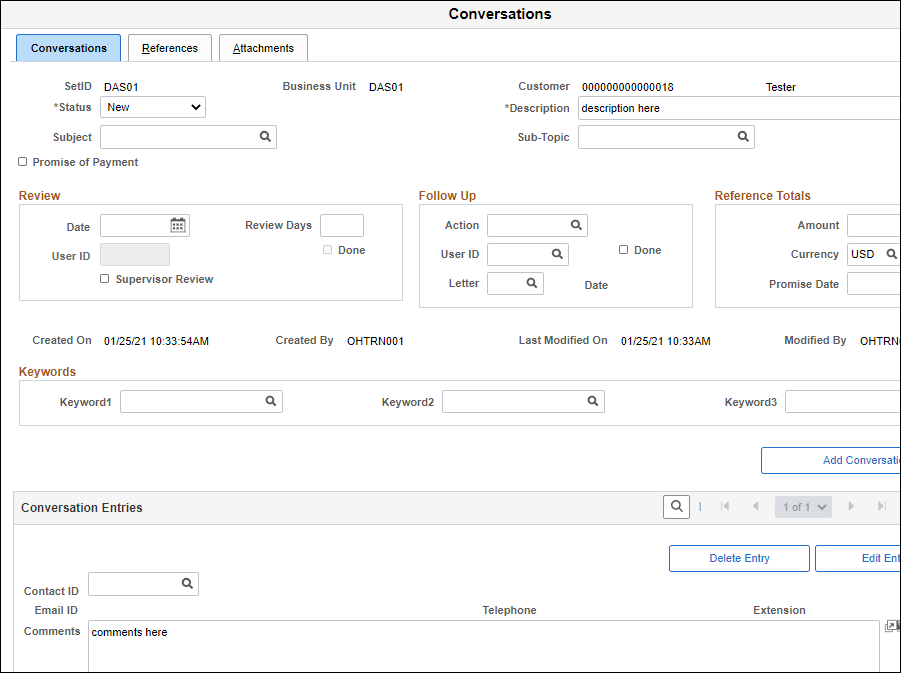
- The Conversations tab displays.
-
- Enter the topic of the conversation in the
Description
field.
- Check what the allowable values are for the agency specified unit, and enter data in the
Subject
field.
- The
Look Up Subject
icon is disabled for this field.
- Confirm the amount under dispute in the
Amount
field.
- By default, the outstanding item balance displays.
- Enter or select the OAKS FIN
Contact ID
.
- Enter notes on what was said in the conversation in the
Comments
field.
-
-
- Example: “Informed Paula Smith that item is being disputed.”
- Click
Apply.
- Click
OK
.
- Click
OK
to save and close the item detail.
- Click
Cancel
to close the Detail 1 tab without saving changes.