
Revised: 07/01/2023
The Single Payment Voucher (SPV) exists to reduce the effort required to make a one-time, small dollar payment to payees not in the OAKS FIN payee database. Single Payment Vouchers may not be used when:
1099-Reportable Account Codes cannot be used on single payment vouchers. Payments using any 1099-Reportable Account Codes should be processed on regular vouchers for the transactions to be reported correctly to the IRS and the payee.
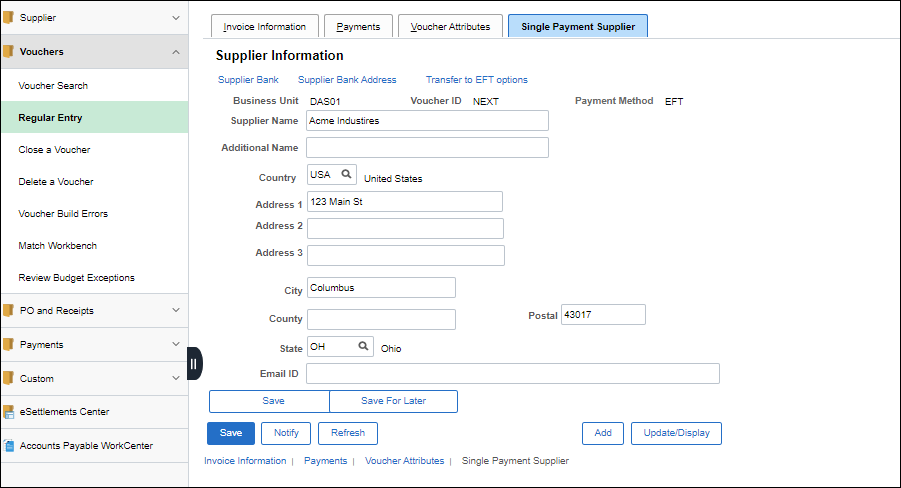
Single Payment Vouchers (SPV) allow agencies to enter vouchers without referencing a payee in OhioPays. The SPV is to be used only for a refund or a subsidy payment. The SPV can be entered online in OAKS FIN or submitted via the INF02 Voucher Interface.
SPVs cannot reference an encumbrance. If a reference to an encumbrance is needed for these vouchers, the payee must be entered into OhioPays and the payment must be processed as a regular voucher.
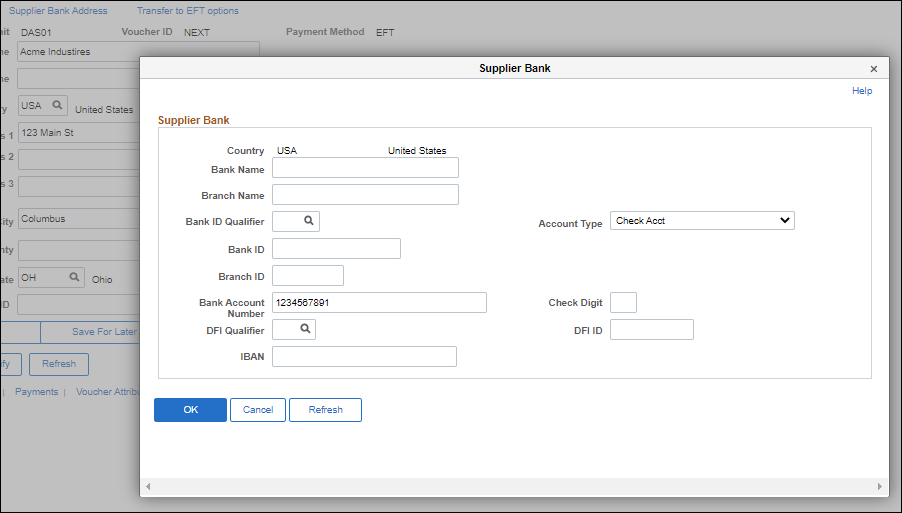
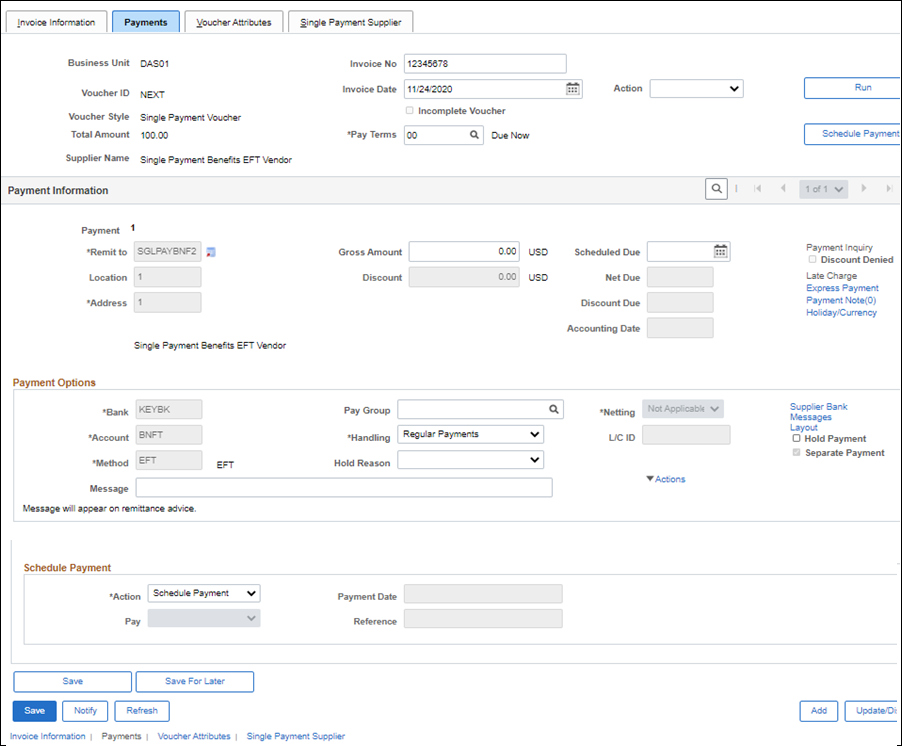
When an SPV is entered online in OAKS FIN, a warrant is issued unless the agency enters the payee banking information on the voucher.
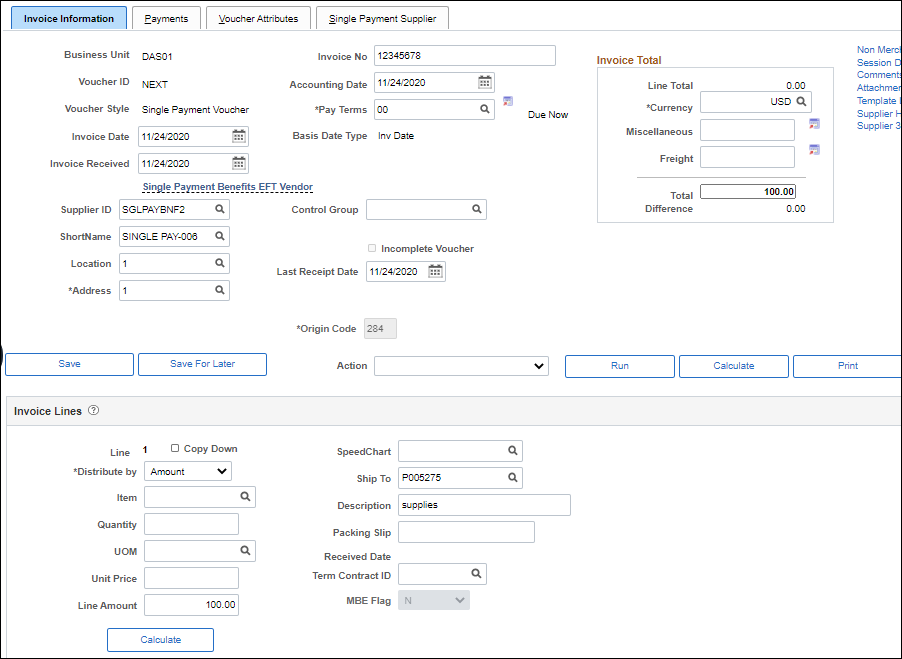
The amount entered should:
Exclude "sales tax" listed on the invoice image when the payee's "remit to" is in Ohio or when Ohio sales tax is explicitly stated (other taxes such as excise taxes, local taxes, environmental taxes, or other types of taxes are not exempt from payment by the state and should be included).
Exclude past charges.
Exclude late payment fees (unless the payee and service is a utility regulated by the PUCO.

In some instances, agencies must consider the cost per individual item being purchased to determine if the goods should be considered a supply or equipment.
For items with a per unit price of $1,000 or more.
For the purchase or lease of supplies, items and/or equipment with a per unit cost of $1,000 or more use an account code within the 53xxxx series (equipment).
For items with a per unit cost of less than $1,000
For the purchase or lease of supplies, items and/or equipment with a per unit cost of less than $1,000 use an account code within the 521xxx or 524xxx series (supply).
If the invoice contains both equipment and supplies (items with a per unit cost of $1,000 or more and items with a per unit cost less than $1,000), each line item must be coded accordingly and placed on separate lines on the voucher.
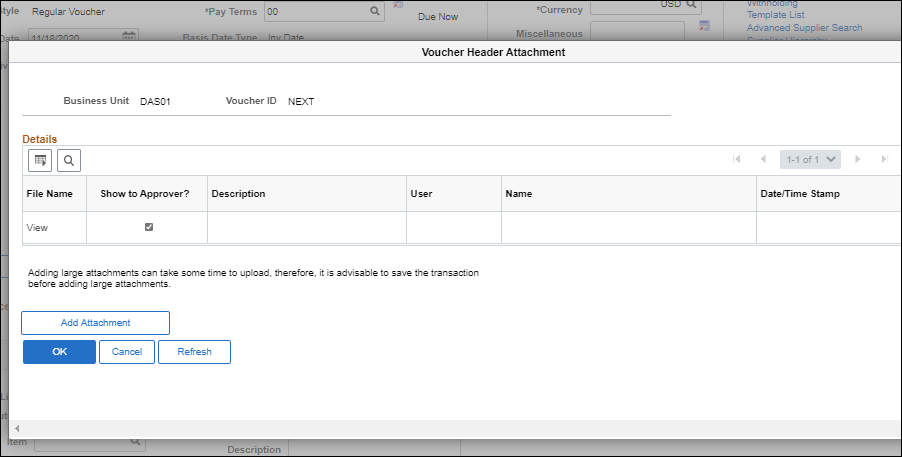
Add a Payment Message.
| Click here to request updates to this topic. |
|