Revised:09/15/2022
When first created, the default bill status is New. The status should be NEW or HLD to edit the copied bill(s). This prevents the Finalize and Print process from including these bills.
When copying bills, a template invoice is any existing bill selected to copy. This is different from a template invoice for recurring or installment bills, which OAKS FIN flags as a template. A template invoice that is flagged as a template will not be selected by the Finalize and Print process, even when in RDY status.
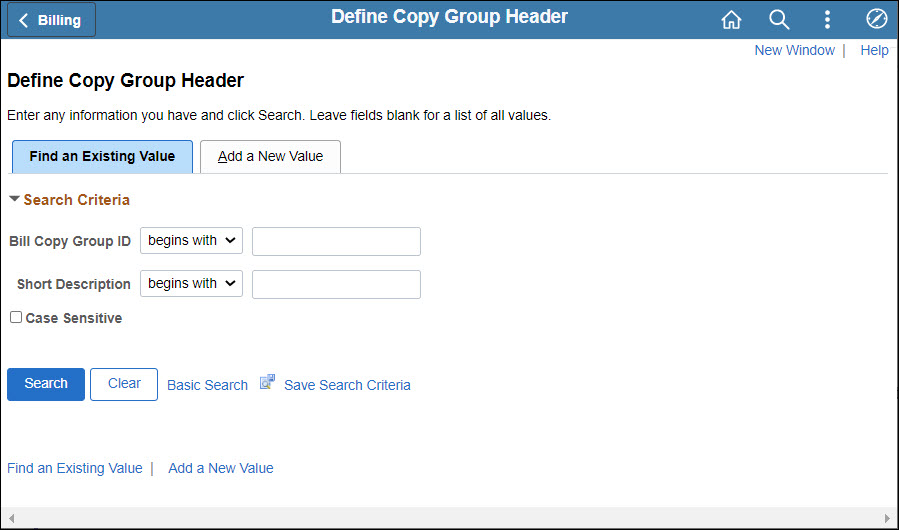
Click the Add a New Value tab.
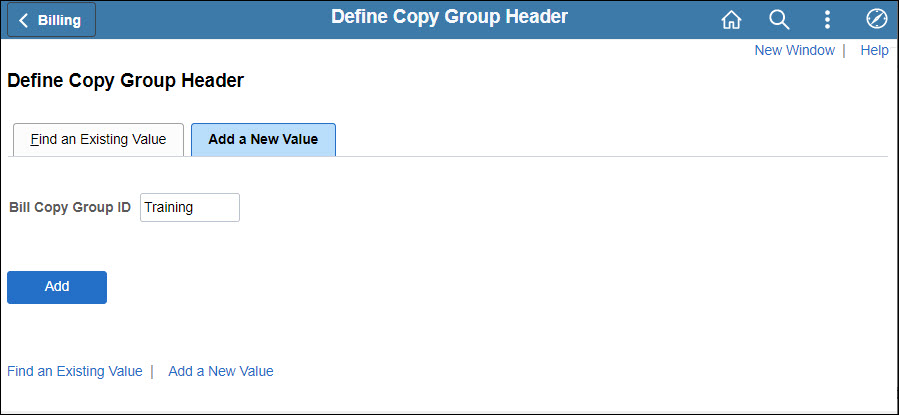
Enter a name for the group in the Bill Copy Group ID.
This bill copy group can be re-used later based on this ID.
Click Add.
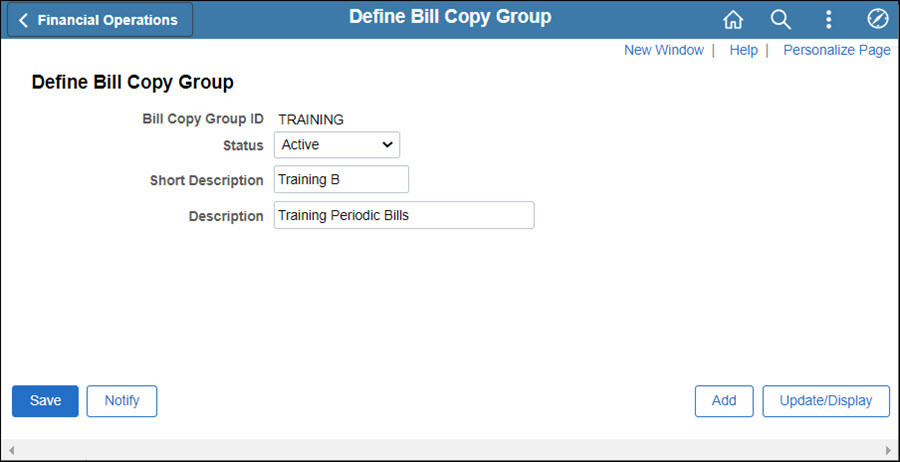
Enter a Short Description for the group.
Contents in this field and the Bill Copy Group ID can be searched from the Define Copy Group Detail page.
Enter a longer description in the Description field.
Click Save.
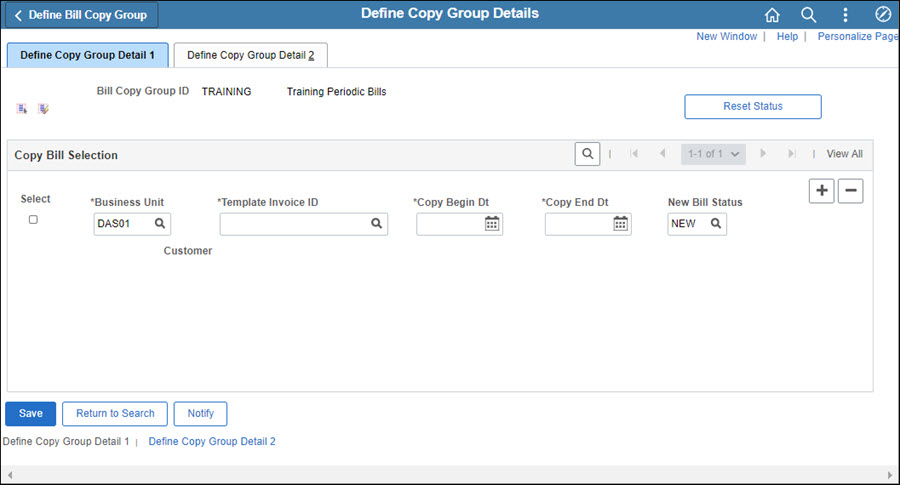
Verify that OAKS FIN has correctly populated the Business Unit code.
Click the Look Up Template Invoice ID icon to select the bill to use as a template.
Choose an invoice to use as the Template Invoice.
Enter the Copy Begin field.
Enter the Copy End field.
If desired, edit the New Bill Status field. This is the status assigned to the new bill.
Click the Select Checkbox to copy this template invoice ID.
To enter an additional row, click the Add a new row at row 1 icon.
Enter information for the second template invoice (and any additional) as done for the first row -- repeating steps 9 through 14.
Click the Define Copy Group Detail 2 tab.
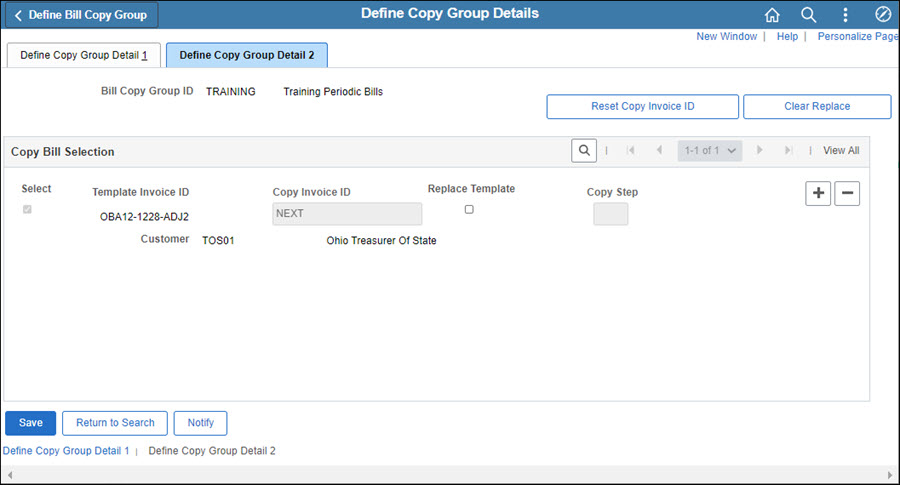
If desired, enter IDs for the new invoices in the Copy Invoice ID fields. Otherwise the default "NEXT" invoice number will be assigned.
Click Save.
This completes the third of four steps involved in defining groups of bills to be copied together in a batch. After completing the Running the Copy Bill Group process (the final step), return to this page to verify invoice numbers or process error details.