Revised: 12/03/2019
Purchase order (PO) Vouchers must be created when funds are encumbered for the purchase or when the invoice total is $2,500 or greater.
The entry for a PO Voucher is similar to a non-PO voucher, except that the invoice lines (item, description, quantity, etc.) can be pulled from the purchase order systematically. OAKS FIN provides the capability to create a voucher by copying information from a purchase order that already exists in OAKS FIN. Copying from the PO saves time and reduces the possibility of voucher data entry errors. Copying PO information onto the voucher also allows OAKS FIN to perform an automated matching process, which ensures that the State only pays for goods/services that were ordered.
Some vouchers may require central approval, which includes a requirement for supporting documentation.
An agency‘s responsibility to make prompt payment does not begin until the agency receives a proper invoice as defined by OBM Rule 126-3-01 (A)(4-5). If the agency receives a defective or improper invoice from a supplier, there are certain responsibilities under the Ohio Administrative Code. OBM Rule 126-3-01 (B)(4)(b) details the actions to take upon receiving a defective or improper invoice.
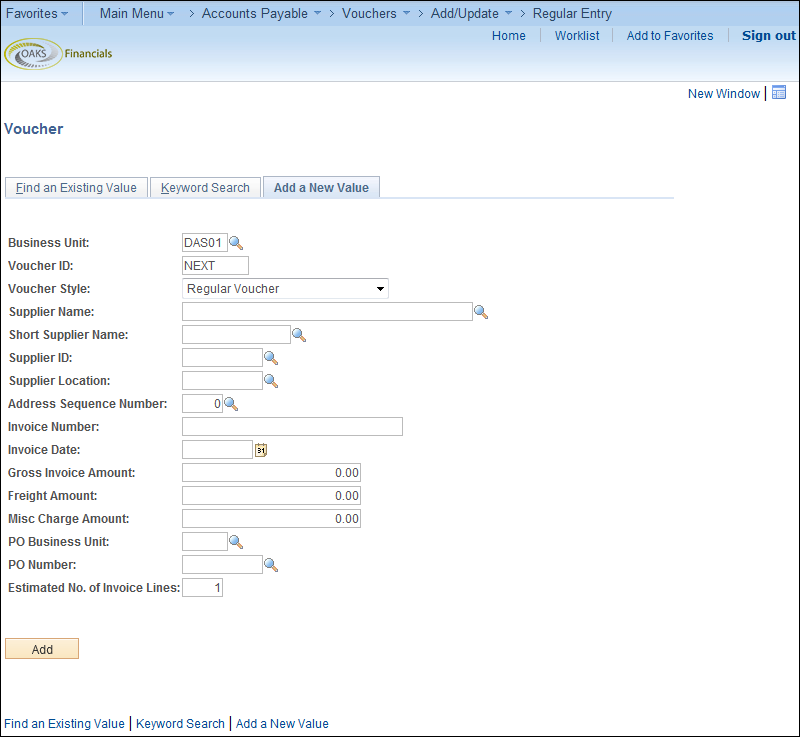
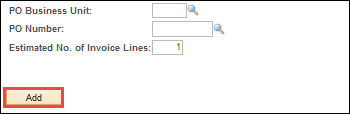
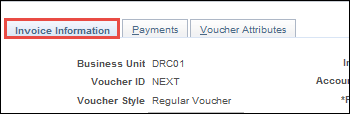
Leave "NEXT" in the Voucher ID field. Only OAKS FIN assigns IDs to vouchers.
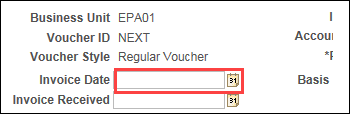
Do not add or change any information on this page.
The Voucher Style for a PO voucher should always be Regular Voucher.
.
field.
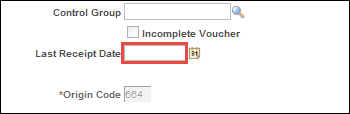
field in MM/DD/YYYY format.
field.
field.
.
.
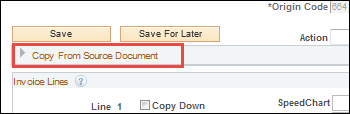
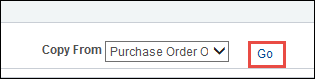
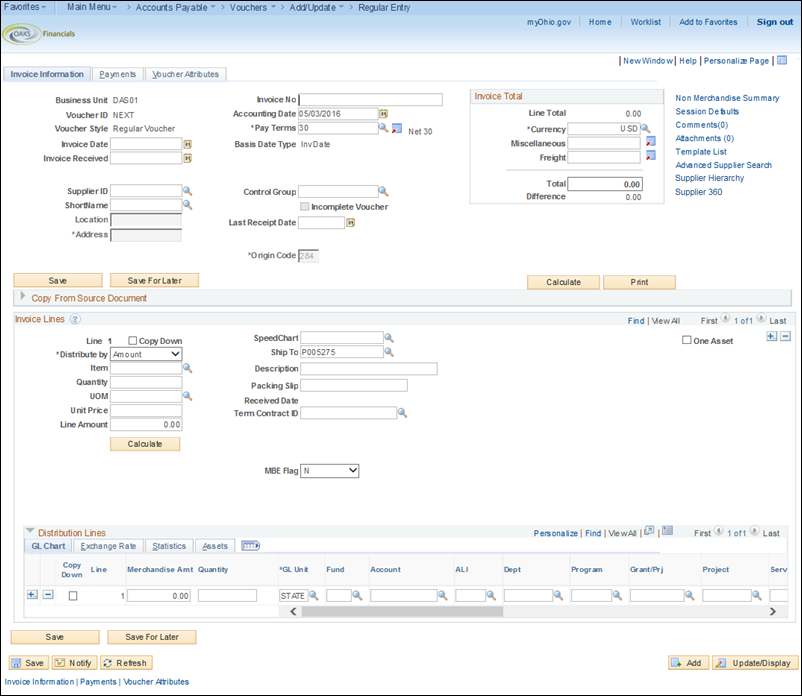
Expand the Copy From
Source Document section.
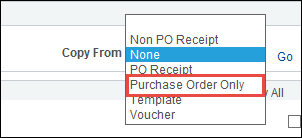
Select "Purchase Order Only" from the Copy From
dropdown.
Click Go.
The Copy Worksheet page displays.
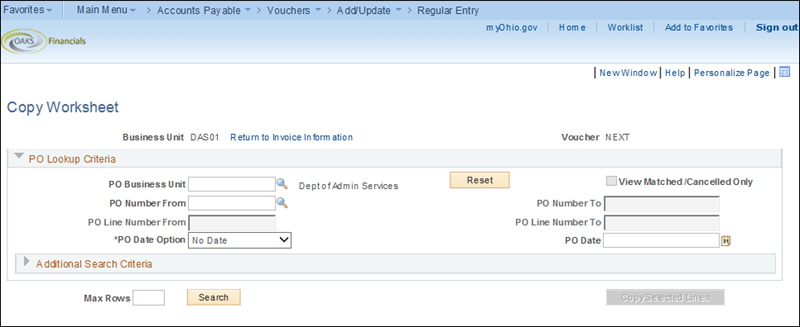
Use the Copy Worksheet page to copy the appropriate purchase order lines into the voucher.
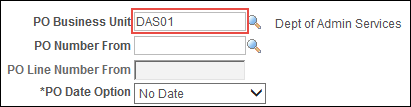
Enter Business Unit
in the PO Business Unit
field.
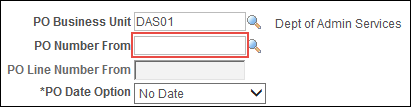
Enter the PO Number
in the PO Number From
field.
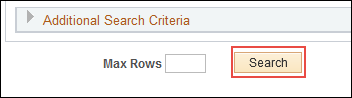
Click Search.
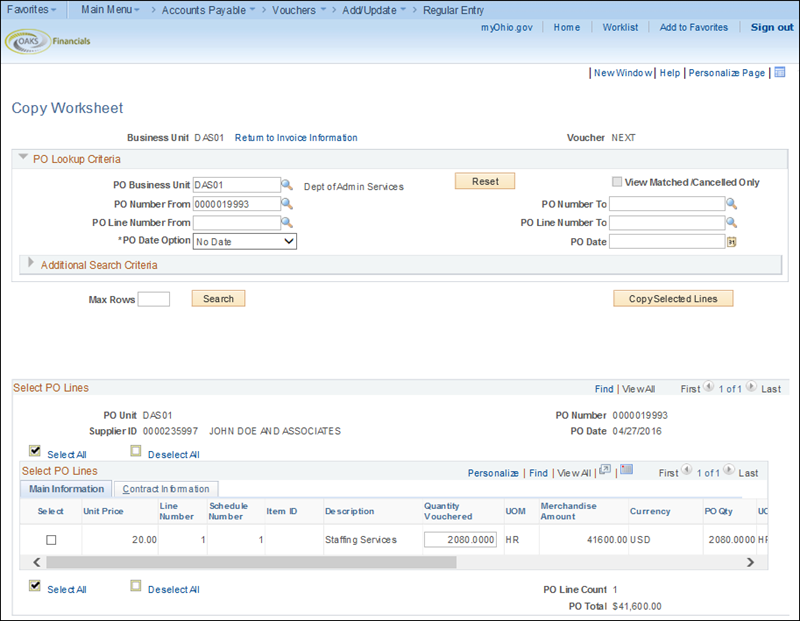
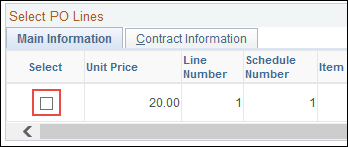
Click the Select
checkbox for each line that should be copied into the voucher.
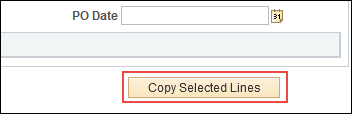
Click Copy Selected Lines.
The Invoice Information tab displays the invoice line and distribution line details based on the PO Number selected.
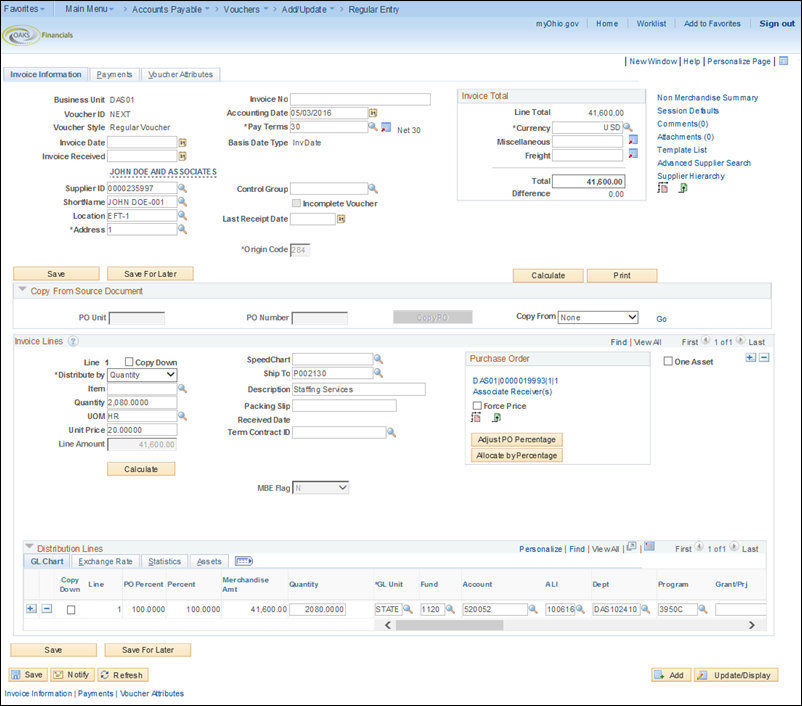
If the supplier is "ENC," update the supplier information in the header to match the supplier information on the invoice. On occasion, agencies will encumber funds when the recipient is unknown (e.g., grant payments, capital contingency). Purchase orders are established using "ENC" as the supplier.
ENC purchase orders do not go through threshold validation; however, when updating the supplier during voucher creation, the voucher will route through threshold validation.
Click here to view steps on correcting an obsolete Supplier ID.
Click here
to view the steps for creating a PO voucher using a quantity-based
purchase order.
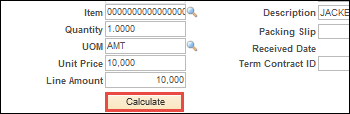
Enter the lesser
of "current charges" or "balance due"
as it appears on the invoice in the Invoice
Total field.
The total voucher amount must correspond to the invoice amount. An invoice may not be altered by the agency. If the invoice amount is incorrect, the agency should request a new invoice from the supplier, according to requirements of prompt pay legislation.
The amount entered should:
Exclude "sales tax" listed on the invoice image when the supplier's "remit to" is in Ohio or when OHIO sales tax is explicitly stated (other taxes such as excise taxes, local taxes, environmental taxes, or other types of taxes are not exempt to the State and should be included).
Exclude past charges.
Exclude late payment fees (unless the supplier and service is a utility regulated by the Public Utilities Commission [PUCO]).
(Quantity, or Unit Price, if it changed,
etc.).
for additional guidance regarding supply vs. equipment account
codes.
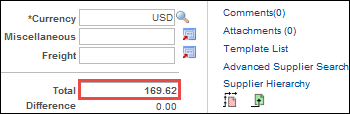
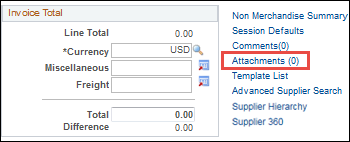
to verify that the Invoice Total
in the Header is equal to the Line
Total amount (sum of all the invoice lines) in the Header.
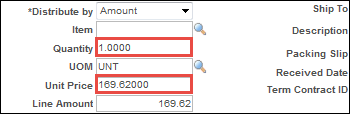
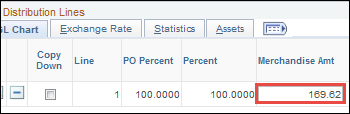
Also verify that the Invoice Line Amount and Distribution Line Amount
on the selected invoice line are equal.
matches the Invoice Total and the
Invoice Line Amount.
icon.
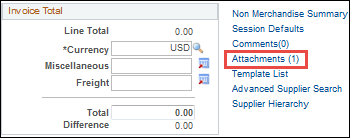
Select the Attachments
link.
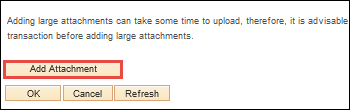
The Voucher Header Attachment page displays.
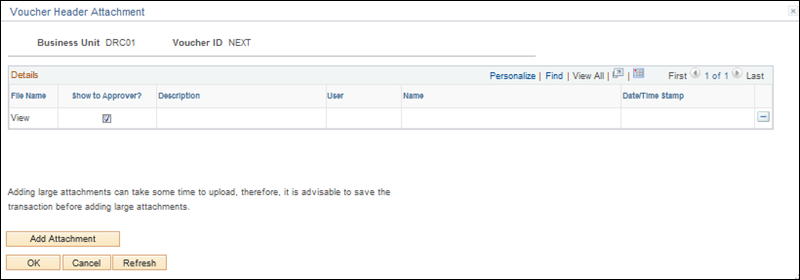
Click Add
Attachment.
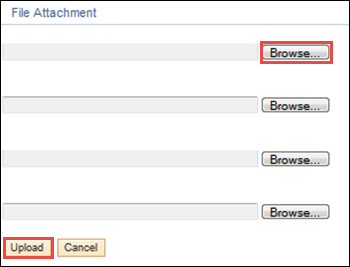
Browse
to find the appropriate item and then click Upload.
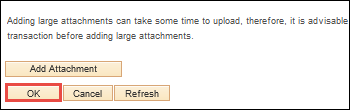
Click OK.
The Invoice Information
page displays and the number of attachments is listed next to
the Attachments
link
tab.
The Payments page displays.
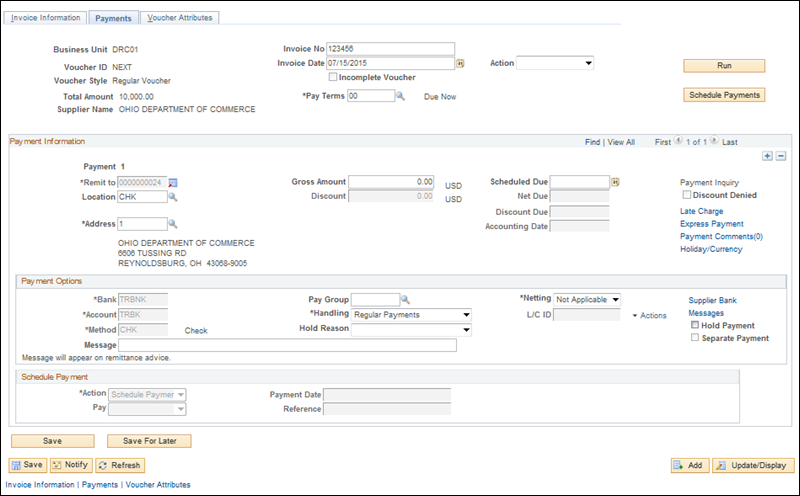
Use the Payments tab to view payment related details for this voucher, including payment method, schedule, and options information. OAKS FIN displays the information on the Payments tab based on the detail set up in the supplier record such as payment terms, default location, and handling code.
Only certain selected users can update the Payments tab details on the voucher.
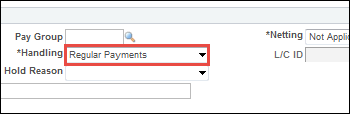
Verify the Handling
field (under the Payment Method
section).
This field specifies who mails payments. The default is "Regular Payment." The options are:
Return to Agency: Warrants are returned to the agency for mailing.
Regular: Warrants are mailed centrally.
Liens: OBM uses this code for lien processing.
Bond Payments: Warrants are sent to OBM for processing.
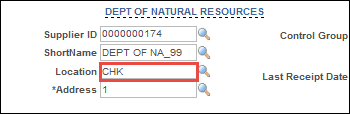
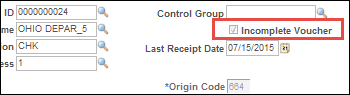
Use the Location
field to specify what payment method will be used to pay the supplier.
The default location is CHK for warrant.
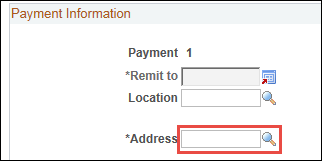
The Address
field contains the address from which the invoice was received. The
address located in the Payment Information
section indicates where the payment is to be sent.
Often, suppliers will use a different address from the address shown in their letterhead to receive payments, known as a "remit to" address. Use this Address field to indicate where the payment will be sent.
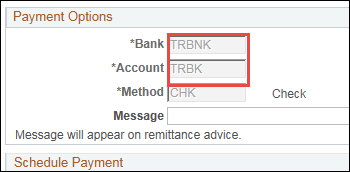
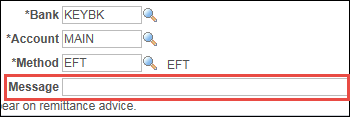
The Bank and Account
fields are not editable. They specify the account from which payment
is drawn.
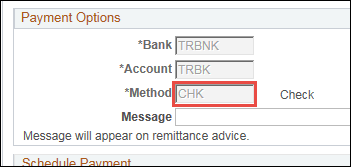
The Method
field displays the payment method for a voucher. The Method field
cannot be edited; it is determined by the location entered.
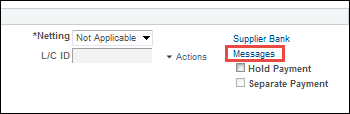
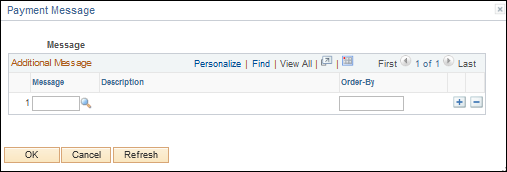
Add a Payment Message.
field) or selecting an agency-specific pre-defined message (using
the Messages hyperlink).
Both messages will display on the warrant (CHK) stub (up to 70-characters),
but free-form Messages will
not display on EFT.
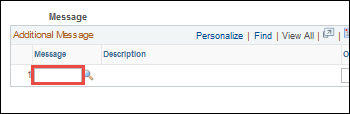
link in the payment method section.
The Payment Message page
displays.
to select a pre-set message.
.
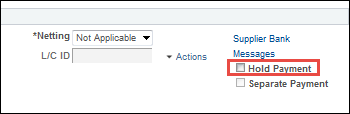
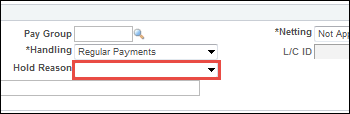
To hold a payment, select the Hold
Payment check box.
Select the Hold
Reason.
Remember to resolve the reason for the hold and to remove the hold as quickly as possible..
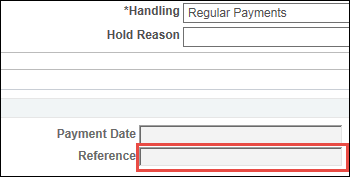
The Reference
field currently does not display any information. Once saved, a voucher
and the pay cycle occurs, OAKS FIN displays the warrant or EFT reference
number in this field.
Review the voucher information, such as accounting instructions and approval information.
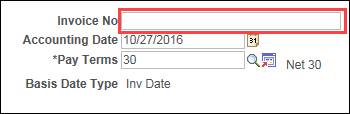
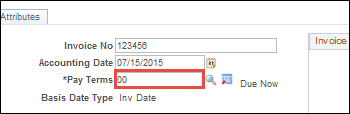
The voucher processor can change the Pay Terms on the voucher during voucher creation; however, once the voucher is saved, OBM State Accounting must be contacted to revise the scheduled payment terms if necessary.
Click the Invoice
Information tab to go back to the Invoice
Information page.
The Print
button allows the agency to print a voucher.
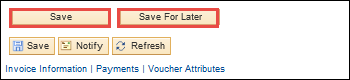
Click Save
or Save For Later.
The Save for Later function allows users to save vouchers that are in progress but not completed; users can come back later to complete the voucher. The following details are required in order to use the Save for Later functionality:
Supplier Information
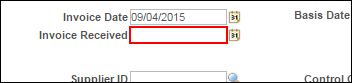
Invoice Date
Last Receipt Date
Account Code
After a voucher is saved for later, a voucher number will be created, but no voucher balance or combo edit checks will be performed. A status of Incomplete (“I”) will be displayed and the voucher will not be routed for approval. Instead, it will go into a recycled status and be displayed in the Voucher Processor’s WorkCenter.
If saved for later, a status of Incomplete (“I”)
will be displayed and the voucher will not be routed for approval.
Another Voucher Processor with the same security may complete the pending voucher.
OAKS FIN assigns the next sequential Voucher
ID number to the voucher.