Revised:11/14/2025
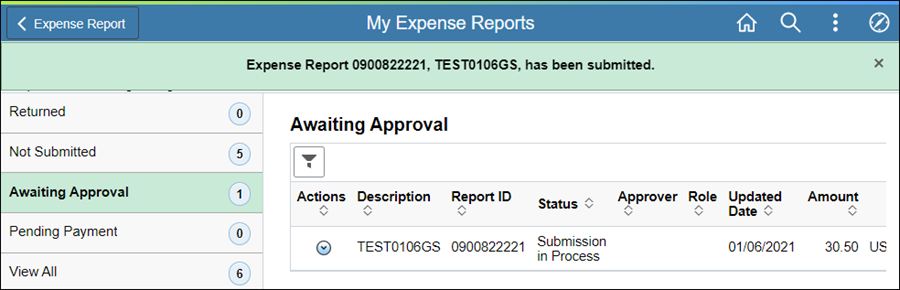
All non-travel expenses are reimbursed through Travel and Expense reports in OAKS FIN. The employee creates an Expense Report and attaches appropriate documentation (e.g., invoice, receipt) after a non-travel expense is incurred. The expense report is routed to a Supervisor for review and approval before being routed to fiscal staff (non-travel approver) for coding review and approval.
Reimbursements for approved expenses generally appear in the state employee’s bank account (via EFT) within 7 days after passing pre-audit approval.
Click the Attach Receipt to add relevant files.
Receipts are required for all expenses over $30.
Review (TE) Attachment Requirements for Non-Travel Reimbursements.
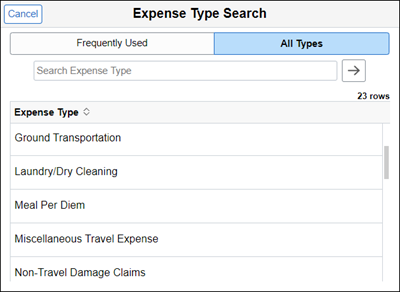
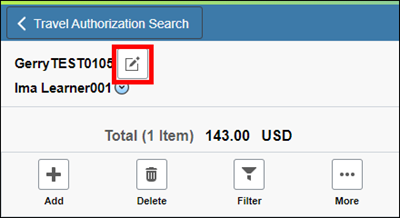
 Select Add Expense Lines from the Expense Report Action dropdown.


Enter Comments / Notes providing justification for the following exceptions:
When dates on the Travel Authorization do not align with the dates on the Expense Report.
When claiming reimbursement for Meal Per Diems and lodging was State prepaid.
When reimbursement information on the Expense Report does not match receipts provided (name, location, charges).
When Per Diem does not align with hotel location, intermediate destinations, and / or vicinity mileage.